As a beginner, changing your electric guitar strings is a daunting task. What strings do I need to restring my Les Paul? When do I change my strings? Will I poke myself in the eye?
After a few years of playing guitar, replacing your strings become second nature. It’s just another process you go through like making your bed.
First let’s talk about a few of the questions you might have.
Related Articles
- How to Spot a Fake Epiphone Les Paul
- How to Spot a Fake Gibson Les Paul
- Best Pickups for a Les Paul
- Ultimate Les Paul Upgrade Guide
Contents
Why Change Your Strings?
Over time, your strings will pick up dirt from your fingers and from the room in which you store your guitar. That dirt will deaden the stings, giving them a dull lifeless sound.
Leave your strings on long enough and the sweat from your fingers will cause rust which will corrode your strings until they “randomly” break when you’re playing.
When or How Often Should I Restring My Les Paul?
It really depends on how often you play. The rule of thumb is about every 100 hours, so if you’re only playing an hour or two a week, you can probably change them once a year.
But if you’re playing an hour or even two hours a day? You probably want to restring your Les Paul every six weeks.
That being said, if you have a gig coming up or you’re going into the studio to record some guitar, make sure you change your strings the day of.
What Strings Should I Buy?
This is a bit like asking, “What car should I drive?” We have a whole article on Epiphone Les Paul strings for you to check out, but if you just want to go with the same strings that are already on your guitar, you want Gibson Britewire strings in 10-46 gauge. Getting something different will depend on what you want to achieve, but Ernie Ball’s Slinky range covers most desires. Whereas those looking for high-performance, long-lasting strings should look at D’addario NYXLs. The best thing about guitar strings is that they’re typically inexpensive, so you might find that it’s best to try out a few of the best electric guitar strings on the market until you find something you love.
Will I Poke Myself in the Eye?
Not if you do it right, and even then… Probably not!
What Do I Need?
Changing strings the right way is a lot more important than you might think. Using the right equipment for the job will help to prevent damage to your guitar (and getting a poke in the eye), and will ultimately make the process go a lot smoother.
- A new set of strings
- A multitool (combining a winder to make things quicker and something to trim your strings)
- Some neck cleaning products (such as the Music Nomad F-One which combines cleaner and conditioning oil) and a rag with which to apply them
So What Are the Steps in Changing Strings?
Remove the Old Strings
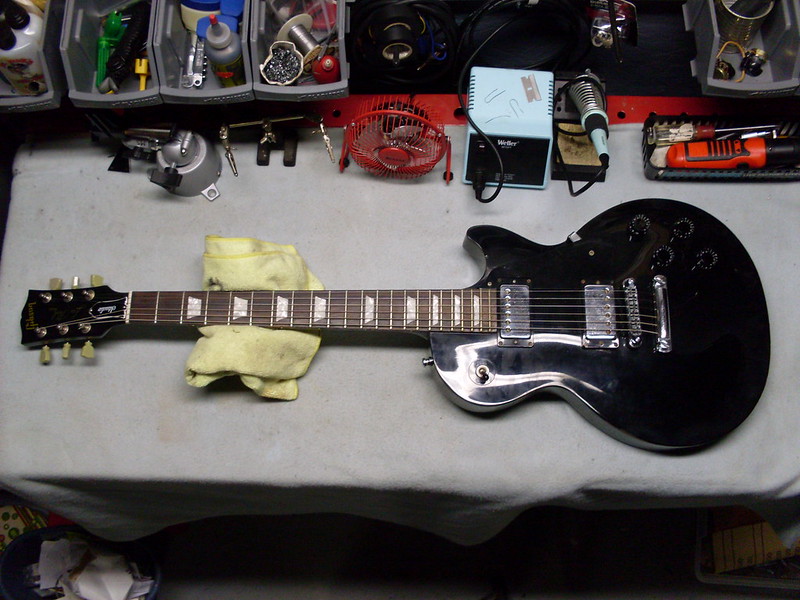
Lay your guitar on a flat surface and tune each string down until it’s floppy and you can’t make out a note (you can speed this process up by using a string winder multitool). Then, unwind the string from the tuner and remove it entirely from the guitar.
Clean the Neck
Once you have all the strings off, take a minute to clean the neck to remove any finger gunk, and then oil it to condition and moisturize the fretboard. Having access to a cleaning and polishing kit will give you the best results, but alternatively, you can just use something like Music Nomad F-One oil, which will both clean and condition your neck. Just put a little on a rag and rub it on each fret one by one. Easy!
Restring
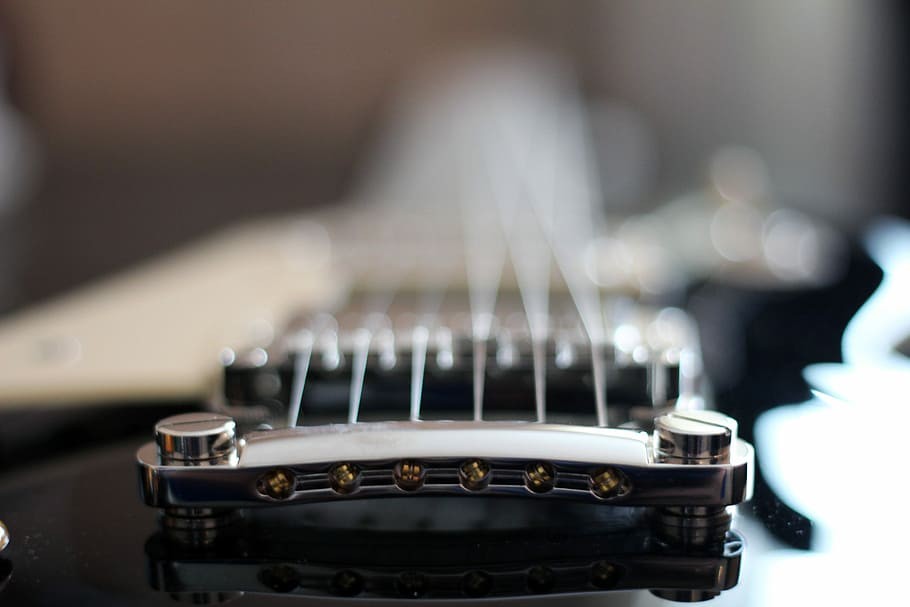
First, insert the top of the string – the end without a ball on it – through the tailpiece. Most guitar strings have color-coded balls to help you figure out which string is which, so locate the 6th or thickest string, thread it through the tailpiece, over the bridge, and up to the tuner.
Next, you’ll want to thread the string through the appropriate posthole and, while holding the string with one hand so it’s at a good tension, start turning the tuning peg counter-clockwise. This will wrap the string around such that it comes up the middle of the headstock and then twists counter-clockwise around the post. This prevents the strings touching off each other.

Keep turning the tuning peg, making sure the long end of the string sticking out always goes over the string that’s already going around the post.
This takes forever, which is why I HIGHLY recommend a string winder to significantly speed up the process.
Do this until the string is reasonably tight and making the sound of a note. But don’t worry about getting it in tune, we’ll do that later.

Repeat the above steps for all the remaining strings. Once all the strings are on, take a pliers or a guitar tool and snip off the ends of the strings that are dangling by the headstock. Nobody wants a headstock with dreadlocks, so trim those strings.
Stretch
Stretching strings when putting them on is CRUCIAL! It’s possibly the most important part. Strings need to expand and if you don’t stretch them while you’re putting them on, they will stretch themselves while you’re playing and you will have a nightmare getting it to stay in tune.
My preference is to get the guitar roughly in tune, then give each of the strings a good tug. Then get it back in tune and tug it again.
Do this until pulling on the string leaves it pretty much in tune.
Play
This is the best step – enjoy your new strings!