
If you’re new to acoustic guitars, particularly if you’ve transitioned from electrics, you might find yourself wondering how to make adjustments to the height of action. On an electric guitar the saddle is usually highly adjustable, but in terms of action height and for intonation, the fixed saddles on acoustics don’t afford the same kind of adjustability.
In this KillerGuitarRigs Guide, we’ll be walking you through the steps to adjusting the height of action on an acoustic guitar. If you’ve been looking to perform your own setups at home, you won’t want to miss this!
Contents
What is Guitar Action?
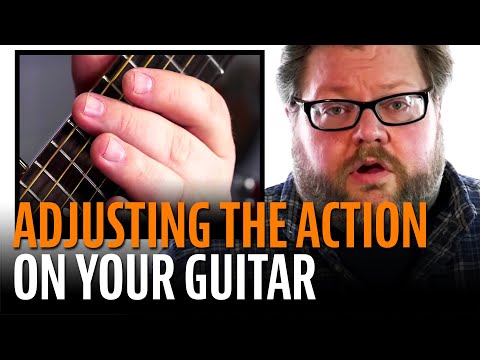
Put simply, guitar action is the distance between the bottom of your guitar strings and the top of your frets. Action is usually referred to as being low, medium, or high, with low action typically being the preferred setup for optimum playability.
For more information on guitar action and how to measure yours, check out our Ultimate Guide to Guitar Action.
Why is Low Action Better on a Guitar?

With a low action, less pressure is required in order to fret the strings, which makes playing a much more comfortable experience, and can actually help you sound better. With high action, you need to push the string down further, which technically bends the strings, and with an action that’s too high, the intonation of your guitar will likely suffer, making you sound out of tune, even if you’ve carefully tuned before playing.
Supplies Needed to Adjust Acoustic Guitar Action
Adjusting the action on an acoustic guitar is a much more involved process than it is for electric guitars (which is why many buy an acoustic that comes with low action instead). Not only do acoustics have fewer adjustment points, but in many cases, the adjustments you make are permanent, which really means you have to slow down and think about what you’re doing before taking any steps.
This is why it’s especially important to make sure you have all the right supplies and equipment to make your action adjustment to hand before you start, just so you aren’t tempted to try and McGuyver the process!
To adjust the action on an acoustic guitar, you’ll need:
- String Height Ruler
- Capo
- Neck Support
- Truss Rod Adjustment Wrench
- Nut Files
- Painter’s Tape
- 600 Grit Sandpaper
How to Adjust the Action on an Acoustic Guitar
To adjust the height of action on an acoustic guitar, there are 3 points at which adjustments can be made; the truss rod, the nut, and the saddle.
The truss rod should be the first adjustment you make, as on most acoustics, it’s the only adjustment that doesn’t require any kind of permanent modification, so if you go too far, it’s easy to bring it back.
Truss Rod Adjustment
Depending on the make and model of your acoustic, you’ll either find the truss rod adjustment screw just inside the upper part of the sound hole, or on the headstock above the nut (usually behind a cover).
Take your capo, and place it on the first fret. Then, depress the 1st string (high E) at the 14th fret, and check to see if there is any gap between the string and the fretboard at the 6th fret. Repeat this on the 6thstring (low E).
If your neck has the proper relief set already, it will have just a little bit of forward relief, leaving you with a gap between the strings about half the thickness of a credit card using the above test. In this case, you should avoid making adjustments to the truss rod, and skip to the nut and saddle adjustments.
Before making any adjustments, make sure your guitar is in tune, and is strung with the gauge of strings you normally use. Changing string gauge can alter the neck relief on your guitar, so if you decide to opt for a different gauge in future, you might need to make more adjustments.
If the truss rod is too loose, this will result in upbow, which is a big cause of excessive height of action. If this is the case with your guitar, you can tighten the truss rod an 8th of a turn at a time and check the action after each turn.
If your truss rod is too tight and your neck has backbow, you’ll probably find that there’s no clearance whatsoever at the 6th fret. In this case you’ll need to slacken the truss ro. Again, move in 8th of a turn increments to avoid going past the sweet spot.
If a truss rod adjustment results in the height of action you’re looking for, then there will be no need for further adjustments. If not, you might have to make adjustments at the nut or saddle.
Nut Adjustment
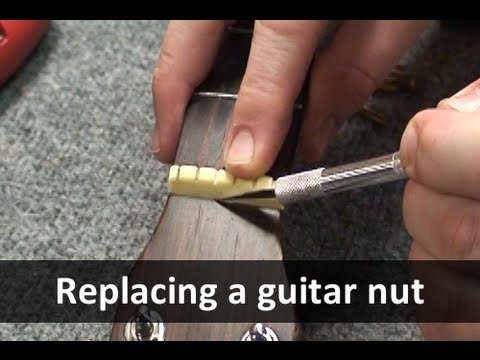
If the truss rod adjustment doesn’t quite get you the action you’re looking for, the next step is to check the nut. If the nut slots aren’t deep enough, this will cause excessive height of action, and will require that you file the slots.
To check if your nut is cut to the right depth, with the guitar tuned to pitch, place your capo between the second and third frets. There should be an almost microscopic clearance between the strings and the first fret – just enough that you can actually see there’s a gap.
If the string touches the fret, your nut is probably too deep and you might want to think about replacing it. If the gap is excessive, you’ll need to file down the nut slots.
Unlike a truss rod adjustment, you’ll need to slacken the strings down so that they can be shifted out of their slots for this step. Next, you’ll want to put painter’s tape around the headstock above the nut, and some around the fretboard below it to prevent accidentally damaging the wood with your files.
To file nut slots, it’s best to use proper nut files. They will help to ensure you get the desired results on every string.
It’s extremely important to proceed slowly when filing your nut. If you go too far, you’ll need to replace it entirely. Shave off fractions of a mm each time and check the action to see how close it is to your preference. On average, for a low action, you’re looking at 0.3mm on the low E and 0.15mm on the high E at the 6th fret.
When you hit the above measurements, remove the tape, and once again check the action with a capo at the 1st fret and a finger on the 14th. If you’re at the desired height and it feels comfortable, stop here. If you still need to bring it down some more, we suggest making an adjustment to the saddle.
Saddle Adjustment
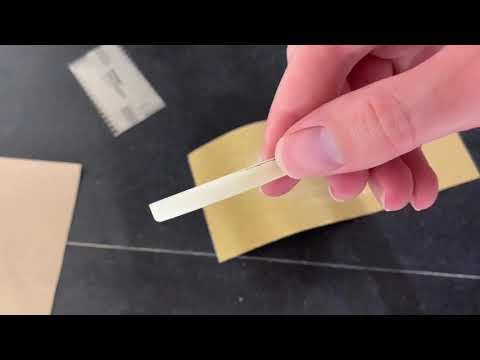
When adjusting the saddle, you’ll need to start using some math in order to get the best results. You’ll first need to measure the height of action at the 12th fret, and establish how much further you want to take it down.
When you know how far you need to reduce the action, double it and that’s how much you’ll need to shave off the saddle. For example, if the height of action at the 12th fret was showing 3.5mm, and you wanted it at 2.5mm, you need to reduce by 1mm, which means that you will actually need to shave 2mm off the saddle.
To shave the saddle, you will need to remove the strings entirely, and take the saddle out of the bridge. Depending on how tight it’s set, you might need pliers. Once the saddle is free, you will rub the bottom on your sand paper, slowly shaving down the height.
Like with a nut adjustment, it’s best to go slow, although replacing a saddle isn’t nearly as complicated as changing out a nut. Regardless, take your time, and go slow until you have the desired amount of material shaved off.
Replace the saddle, and restring the guitar. Once everything is strung up again, put your capo back on the 1st fret, a finger on the 14th, and measure the action at the 6th fret. If you’ve followed everything correctly, you should have a distance about half the thickness of a credit card at the 6th.
Final Thoughts on Adjusting the Action on an Acoustic Guitar
Of course, adjusting the action on an acoustic isn’t quite as straight forward as it is on an electric, and in addition, the majority of the adjustments involve making permanent modifications to the nut and saddle, but once you have it dialed in just right, you’ll probably never need to touch it again, and your guitar will play better than ever.
All that being said, if you don’t feel confident, or you’re unsure about any of these steps, we recommend that you find a professional luthier or guitar tech who can take care of these adjustments for you to prevent the potential for lasting or permanent damage to your guitar.